Manage Charges
Creating and Editing Charges in the Vanguard Genova System
This guide provides a step-by-step process for creating and editing charges within the Vanguard Genova system. Follow the instructions and accompanying screenshots to successfully manage your charge entries. Each step highlights the specific interface element to interact with.
Start url: http://localhost/vanguard-genova/cia/admin/
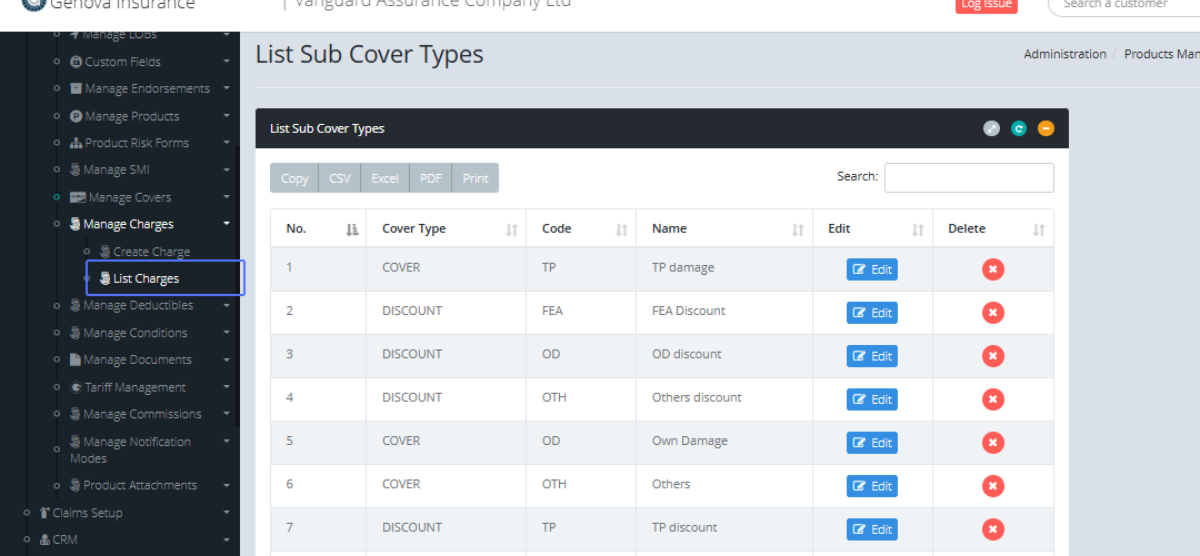
Tab Name: List Sub Cover Types - GENOVA INSURANCE
Access the Charges List: To view the Charges within the system, the users can access them by Clicking the “List Charges” button within the Manage charges tab under the Product Management section.
Tab Name: List Charges - GENOVA INSURANCE
Edit an Existing Charge: On the “List Charges” page, users can edit Listed Charges by clicking the Edit button.
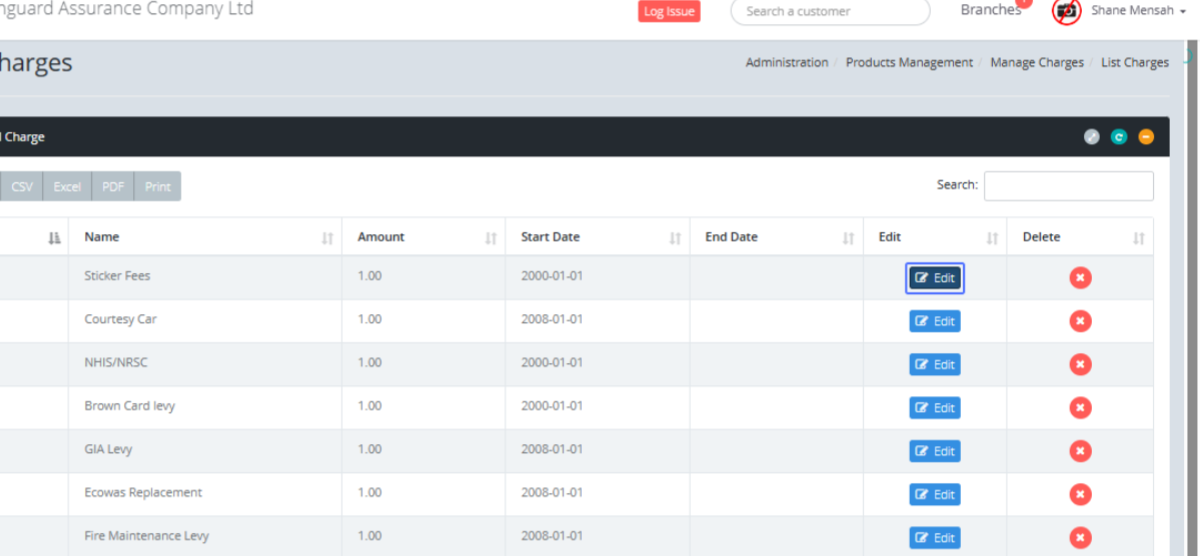
Edit an existing Charge: users are shown the existing charge within a form. The users can edit the existing charge by making changes to any of the applicable fields.
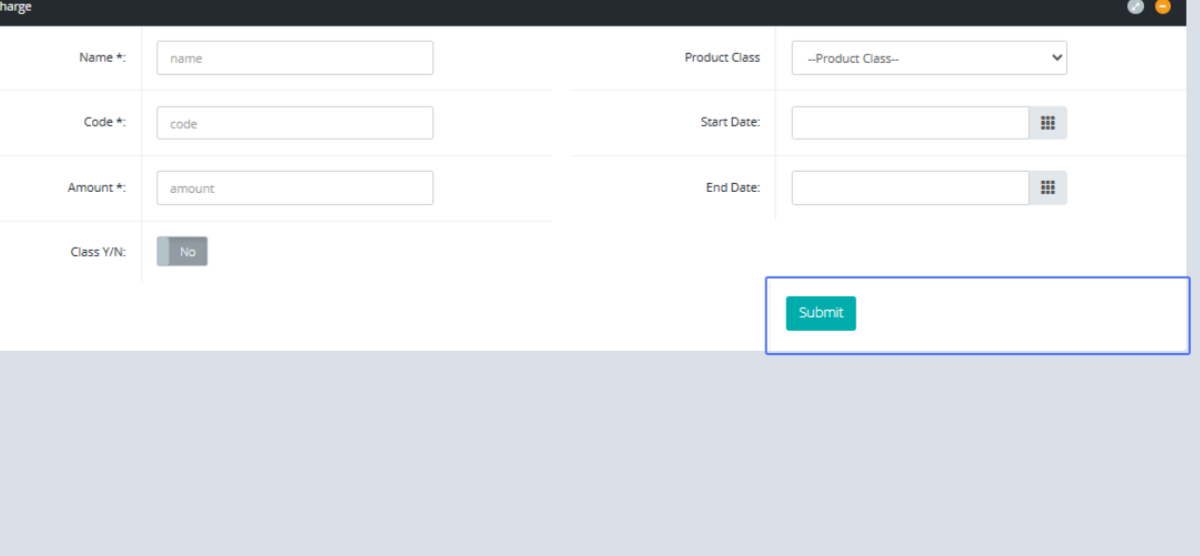
Tab Name: Create Charge - GENOVA INSURANCE
Creating a new Charge: To create a new Charge, Click on the Create Charge button under the Manage Covers section.

Enter the Charge Name: Start by entering the Charge name to create the charge.

Enter the Charge Code: Enter the charge code within the available field.
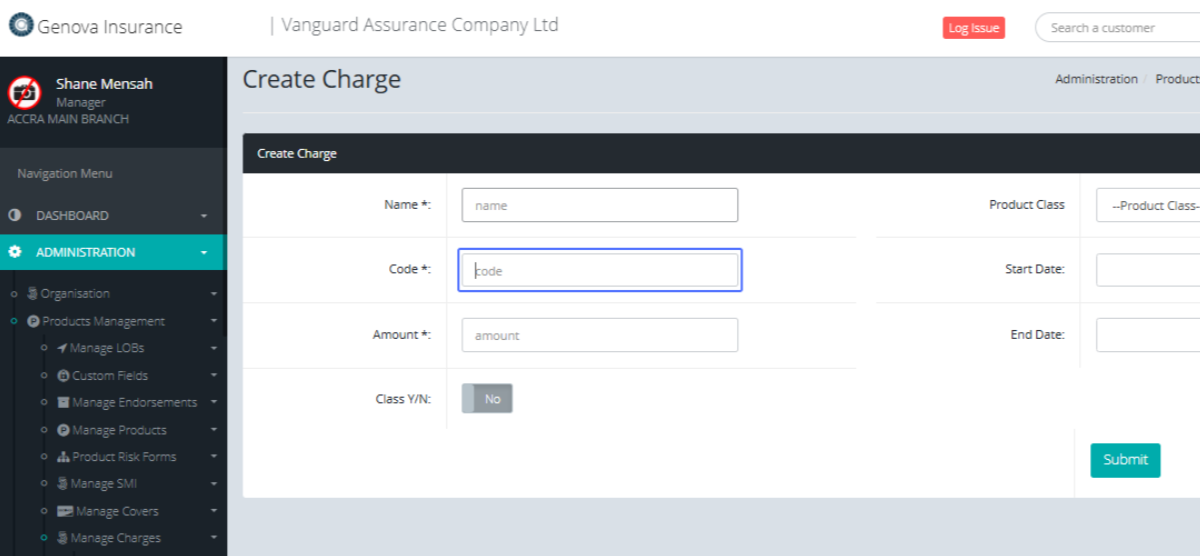
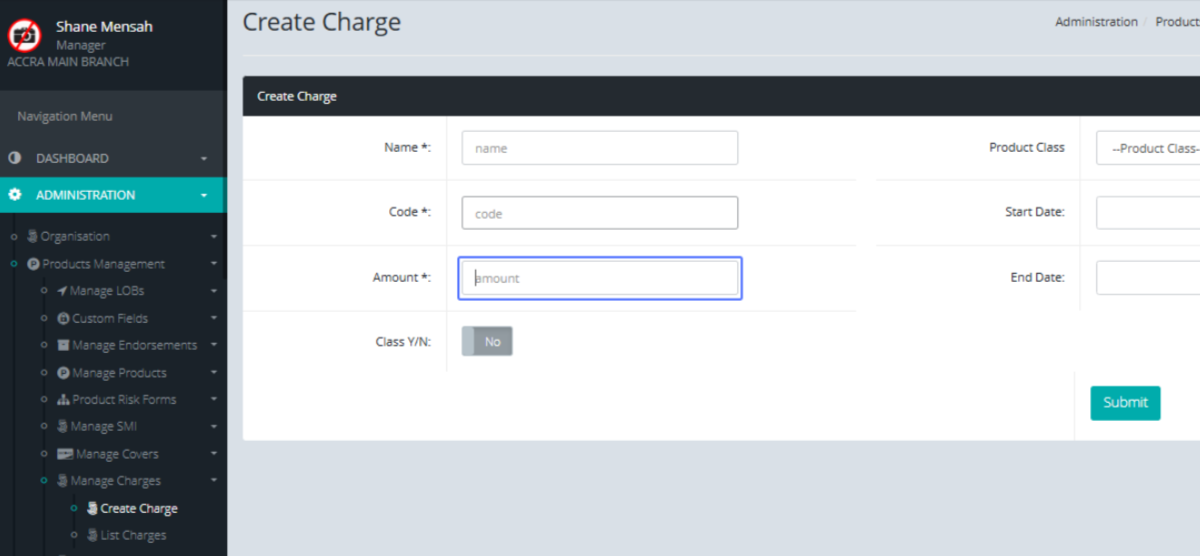
Enter the Charge Amount: Enter the default charge amount within the field provided.
Specify Class: Specify the Class, by toggling the (Yes/No) button

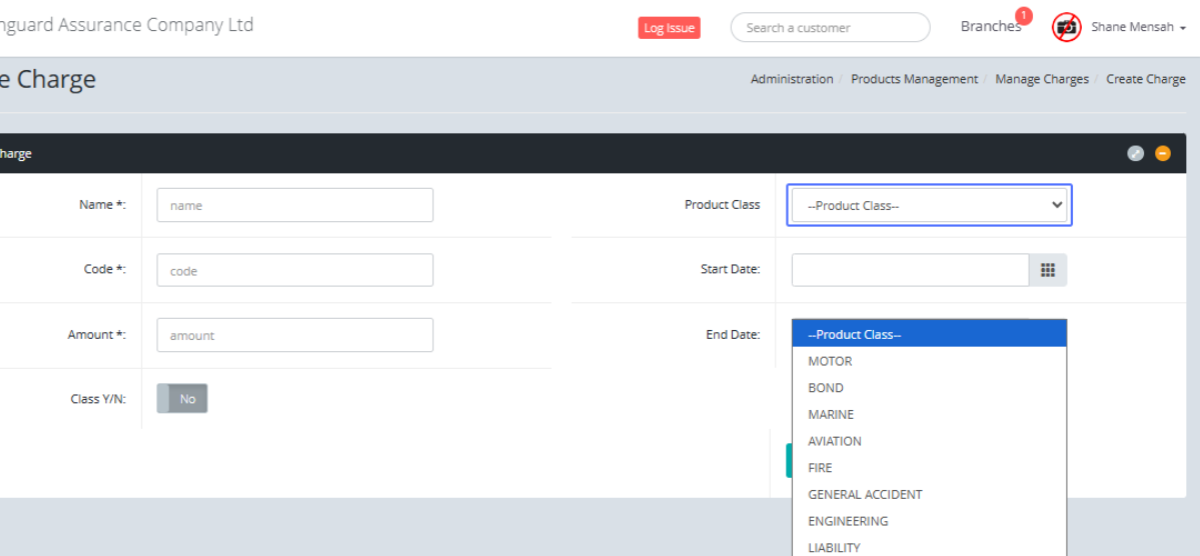
Select Product Class: Select the product Class from the dropdown provided.
Set the Charge Start Date: Users have the option to set the Start Date of the Charge
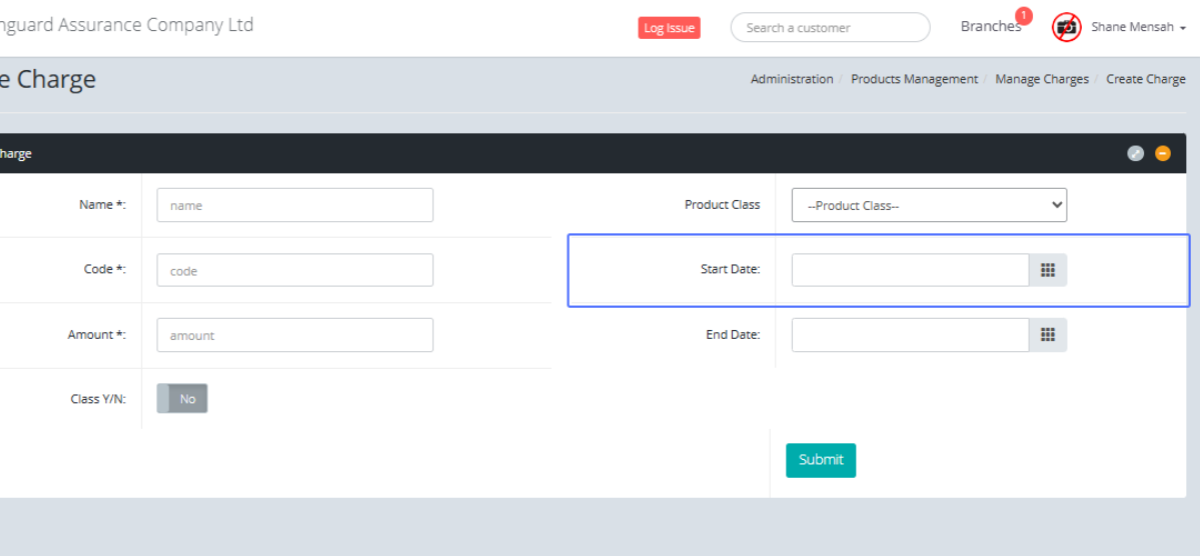
Set the Charge End Date: Users have the option to set the End Date of the Charge
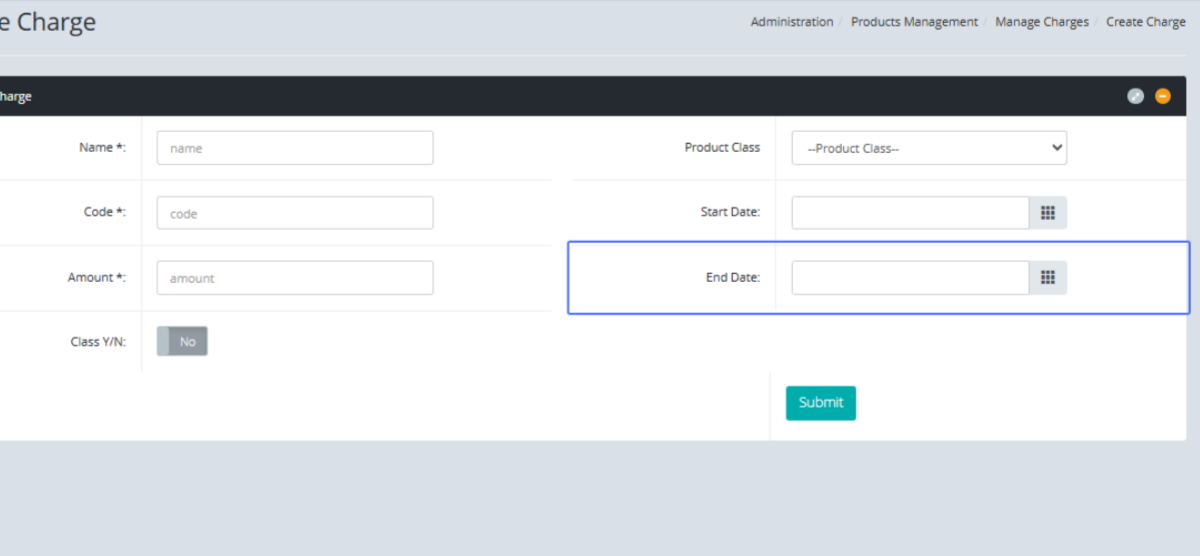
Submit the Charge Information: If everything is set, Click Submit to save the Charge.